This article is contributed. See the original author and article here.
Find and control oversharing in SharePoint as you get ready for Microsoft 365 Copilot. With simple practices as a SharePoint site owner or a SharePoint admin using the admin center you can adjust site privacy settings and site memberships, ensuring only authorized members can access sensitive content. Microsoft 365 Copilot respects individual access permissions and in turn what each user can find using search in Microsoft 365, so it’s important to right-size information access.
Set up test accounts to identify potential oversharing and take corrective actions. By right-sizing permissions you can protect valuable information while also enhancing the relevance of AI-generated responses.

Jeremy Chapman, Director of Microsoft 365, shares how to find and control oversharing, so you can optimize search and protect your data as a small business. This helps whether you’re looking to adopt Microsoft 365 Copilot or not.
Prepare your data for search.

See how to ensure secure access to sensitive or high value data before implementing Microsoft 365 Copilot. Click to watch.
Check for possible overexposed information.

Set up a test account to look for overly permissive sharing in Microsoft 365. Get started.
Manage access to sensitive content.

From the Microsoft 365 admin center, navigate to the SharePoint admin center, select active sites, and adjust site privacy settings from public to private and narrow down site membership to only those who need access to sites and the files within them. Check it out.
Watch our video here:
QUICK LINKS:
00:00 — Prepare data for search
01:22 — Search hygiene
02:04 — Test to see who has access
02:33 — How to set up a test account
03:32 — Search for items
05:08 — Information retrieval process
05:45 — Shared items by invitation link
06:19 — Oversharing
07:33 — How to reduce oversharing
08:35 — Check permissions
11:07 — Confirm permissions are in place
11:52 — Wrap up
Link References
Get to the SharePoint admin center from Microsoft 365’s admin center at https://admin.microsoft.com
Unfamiliar with Microsoft Mechanics?
As Microsoft’s official video series for IT, you can watch and share valuable content and demos of current and upcoming tech from the people who build it at Microsoft.
- Subscribe to our YouTube: https://www.youtube.com/c/MicrosoftMechanicsSeries
- Talk with other IT Pros, join us on the Microsoft Tech Community: https://techcommunity.microsoft.com/t5/microsoft-mechanics-blog/bg-p/MicrosoftMechanicsBlog
- Watch or listen from anywhere, subscribe to our podcast: https://microsoftmechanics.libsyn.com/podcast
Keep getting this insider knowledge, join us on social:
- Follow us on Twitter: https://twitter.com/MSFTMechanics
- Share knowledge on LinkedIn: https://www.linkedin.com/company/microsoft-mechanics/
- Enjoy us on Instagram: https://www.instagram.com/msftmechanics/
- Loosen up with us on TikTok: https://www.tiktok.com/@msftmechanics
Video Transcript:
-Part of what sets a Microsoft 365 Copilot apart is its ability to generate content and responses based on the information you have in SharePoint and other Microsoft 365 services like email, Microsoft Teams and more. If you’re in a small or medium-sized business, today, you’ll see what you can do so that you don’t need to worry about people having access to information they shouldn’t have, then you can just take advantage of all that Microsoft 365 Copilot has to offer.
-But before I do that, let me take a step back to explain how your data works with Microsoft 365 Copilot. Microsoft 365 Copilot is a set of powerful generative AI experiences to assist you with getting work done.
-It’s different from the other AI tools that you might have tried before in that it takes what you ask in your prompt, instead of just presenting that to the AI model, like in other tools, it interprets what you’re asking for or telling it to do, and then it determines if any of the information that you have access to in your SharePoint sites, OneDrive, email, calendar, or Microsoft Teams, even the internet might provide it more useful context.
-Then it retrieves that information and appends it to your original prompt to provide as much context as possible to the AI model, so that it can generate a highly-relevant response all in the format of the app that you’re using, and in just a few seconds, you’ll have what you asked for using the context that you specified in your prompt.
-So, this is why as a user, it’s so important to write good, descriptive prompts in the first place, and why as an organization, you should also have a good handle on the information that your users should or should not have access to. A good way to test for this is via search. In fact, search hygiene is important regardless of whether you use generative AI or not.
-So, as a rule, the information that you are generally able to search and retrieve, that same information can be used by Microsoft 365 Copilot. Conversely, you can’t search for content like emails or any meetings that you were not part of, and Microsoft 365 Copilot can’t either. Now, these are only searchable if you are sent the email or were invited to the meeting, so there’s nothing to do there. Where this does apply is where you have shared content like sites or files in SharePoint.
-Of course, no one wants to manually check each file, folder or site for permissions, so what’s the fastest way then to find out if everyone in your company has access to confidential or valuable information that should be limited? Well, one way to check if all or most people in your Microsoft 365 or Office 365 environment have access to more information they should have is by setting up a new account to test for this.
-So here, in fact, I’m setting up an account called Test Account. This new account only needs the most basic type of account like Microsoft 365 Business Basic E1, or even a 30-day free trial account, because it only needs to access SharePoint and web experiences. Because search and Microsoft 365 only will display information that you’re allowed to access, what you can see using search is not the same as what someone else in your company see, unless all or most of the files can be accessed by them.
-So, this new account is the most basic way of spot-checking what everyone in your organization can access. You’ll then create a list of items or sites that you don’t think everyone in your company should be able to find, then using that account, you’ll go to Microsoft365.com and first sign in using that account. So, I’m going to paste in the email address, then the password, and I recommend using multi-factor authentication even for test purposes with temporary accounts.
-And now, I’m in the site for the first time and I’ll start searching for items on my list. So first, I’ll search for customer address, and I find a few results, and this top one here, I didn’t want to find it, but it’s there, so I’m going to click on it and my brand new test account with no department affinity can find, view and edit this file with customer addresses.
-So, let’s go back and try to search for company acquisition. Not only do I find a document for next year’s company acquisitions, but I can also see Ultra Secret 2025 plans with Do Not Share even in the title, so that’s not good. And I can also follow the link to the 2025 Company Acquisition Plan, so now I’ll go back and just do a few keyword searches.
-First, I’ll search for confidential, and there’s a result right up on top that I shouldn’t see, and below that there are a bunch of 2017 files that should probably be archived and removed from search because you likely don’t want Copilot referencing those either. So, now let’s search for Secret, and again, I can see quite a few different sites and pages and files that I shouldn’t see. So, in my case, I have some work to do.
-Now, if in your tests, you don’t see anything that you don’t think that you should, then there’s a good sign that people in your company are setting up SharePoint sites and sharing only to the people that need that information. And then you can just prioritize a few important sites to protect those and set permissions accordingly, which I’ll show you how to do in a moment.
-That said, if you did find just about everything that you were searching for, then it means that anyone in Microsoft 365 in your environment can find and access even your most sensitive documents just by searching for them like you saw in my case. And as I mentioned, by extension, Microsoft 365 Copilot’s information retrieval process will find these items too. So, let me first explain why this happens.
-As you create a SharePoint team site using the normal process, in Privacy settings, there are two different options, Private, where only members can access the site, and Public, where anyone in the organization can access the site. Now, those permissions extend also to any of the stored files and locations within that site. So here, you can see where members can be manually added too, and we’ll come back to members’ access for private sites in just a moment.
-So next, if you’ve shared files before, you might think that sharing links using the people in your company option means that everyone in your company will immediately see the item shared the moment that you create that link. That’s not true though, and those files won’t appear in search unless you’ve clicked on that link. So, this type of link is like an invitation, and only once a person has redeemed that link by clicking on it will that individual be able to find the shared item in search.
-Also, every person with that share link would need to redeem it to be able to search for the corresponding file. So, that was public sites, and the next most common culprit for oversharing are cases where sites, groups or teams, have too many internal members. So first, let me walk through your controls to address this as a SharePoint site owner, then as a Microsoft 365 administrator.
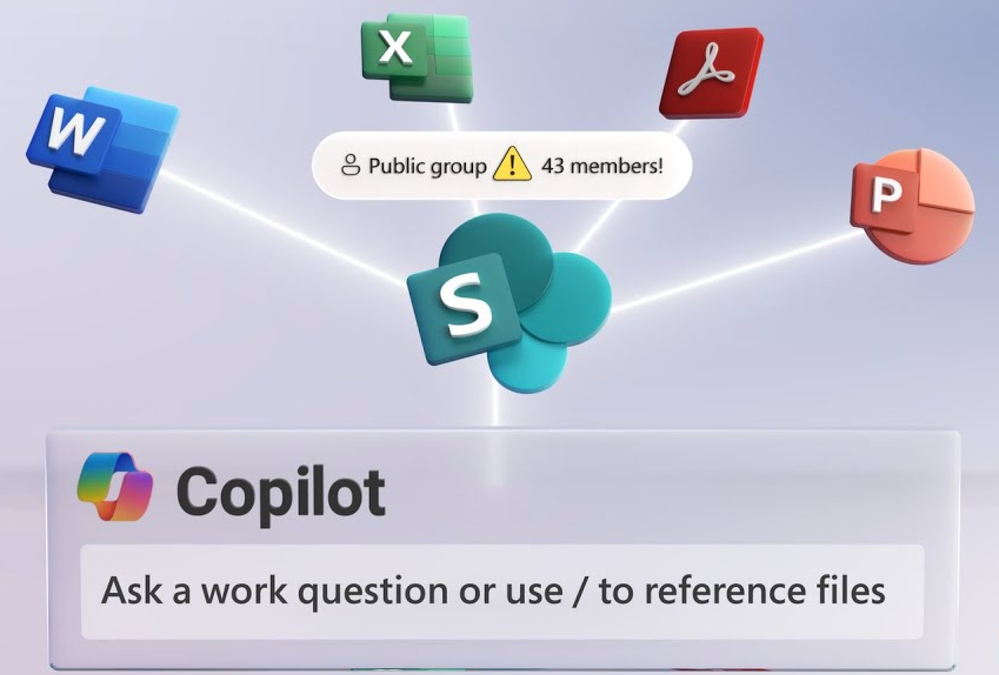
-As a non-admin owner of a SharePoint site, you can check if it’s a public group site in the upper right corner. A public group means that everyone in the company can find the site and its contents. Now, if I open Settings and Site permissions, I can show you why. So, expanding Site members shows that there’s a group called Everyone except external users, which is just like it sounds, with permissions to all contents in the site.
-Now, if you want to change it to a private group where only invited members can access it, in Site information, under Privacy settings, you can change the site to a private site. Now, if I go back to Site permissions and its members list, you’ll see that this step removed the Everyone except external users group.
-And once you close out of these controls, you’ll likely need to remove unwanted members from the site by clicking on the members control, then the member you want to remove and select Remove from group and repeat this process until only the people who need access have access. So now, let me show you one more control to help reduce oversharing sprawl from happening again in the future.
-You can limit members from granting access to others and in turn making them members by going into Site permissions, then Advanced permission settings, then using the Access Request Settings control. So here, you can control whether or not you want to allow members to share the entire site and membership to its corresponding group using the second checkbox, or files and folders as well using the first checkbox.
-Then by default, only site owners will be able to approve membership or file permissions requests. So, for sites with very sensitive information that you really need to protect, even though this introduces additional work for site owners to approve access requests, it will help you protect your information and reduce membership and permission sprawl over time.
-And those are just some of the steps that you can take as a SharePoint site owner, and as a SharePoint administrator, you can do many of these actions in bulk across all of your company sites and teams using SharePoint admin controls. So, from Microsoft 365’s Admin Center at admin.microsoft.com, you can go to the SharePoint Admin Center.
-On the left navigation, if you don’t yet see SharePoint, click on Show all, then scroll down and click on that. Once you’re in the SharePoint Admin Center, expand Sites on the left and select Active sites. So now, in order of priority or information risks, select the site that you want to edit by clicking onto the site name directly.
-I’m going to choose Business Development because that’s where our first customer addresses spreadsheet is located, and let’s find out why the test account could find it. So, I’ll head over into settings, and then here, I need to change privacy from public to private so that only members can search over the sales and customer-related content.
-Now, I’ll head over to the Membership tab, and everything looks good. In fact, in Members, there are nine Sales Team members, Site admins and Site owners are the owners group, that looks good. And Site members, these are groups, and this group represents the nine people we just saw in the Members tab, so there’s nothing to do there.
-Now, let’s head over to the site with some of the secret plans and confidential information that we saw before, the Business Strategy and Planning Site. This time in Settings, you can see that it’s set to be Private, and this is promising, but I was still able to access those sensitive files, so the problem is likely going to be that the site has too many members.
-So, we’ll head over to the Membership tab for the site. The members count as only four people, and that’s just the Senior Leadership Team, so that’s not our problem. The Site admins and owners also look right, and this group would basically only have our CEO Patti Fernandez.
-That said though, in Site members, I can see Patty Fernandez’s Executive Team as a group. This is different from before, so let’s see who’s in that group. So, to do that, I need to head over to the Microsoft 365 Admin Center, in teams and groups, I’ll scroll down and find our group, and there it is. And if I click into it and look at its membership, you can see the entire company is there, even the Test Account that we just created.
-So, in this case, it was a dynamic group set up to be anyone at any level reporting up through Patti Fernandez, but she’s the CEO, so by definition, the entire company reports up through her. So, back in our SharePoint Admin Center, I’ll select the group and remove it as a site member. So now, just the right people have access to our sites, and both were hosting a lot of confidential information.
-Of course, when you’re making permissions decisions, you need to be familiar with the site and who should have access. So, you want to work with your site owners if you need to or ask them to right-size permissions for their sites. So, now let’s see if this worked. So, to save a little bit of time, I’ve started creating another new account called Validation Account and assigned it the trial license that I removed from my first test account.
-So, now the account’s active, I’ll switch over to that account and search for customer address, and you’ll see there are no results. 2025 Customer Acquisition Plan for my next search. Again, no results. I’ll search now for keywords, Confidential, and that shows outdated items from before, which we should remove, but not the things that we didn’t want to see. And Secret also produces the outdated items, but nothing sensitive, so it’s much better than our first test.
-And while I walk through just a few sites in a small business environment, these controls I demonstrated today will work with any size organization using SharePoint online, and there’s more that you can do with Microsoft Purview Controls, but I wanted to keep things simple today. Now, with that, we’ve right-sized site and file access for people, and it will be visible in SharePoint search results, which in turn, will be respected by the underlying search used with Microsoft 365 Copilot.
-All you have to do now is grant access to Microsoft 365 Copilot, and you’re ready to take full advantage of it at your company. And if you’re watching this as an enterprise with thousands of SharePoint sites, soon we’ll cover more controls and options to find and control over sharing at scale. So, subscribe if you haven’t already. Thanks for watching.
Brought to you by Dr. Ware, Microsoft Office 365 Silver Partner, Charleston SC.

Recent Comments