This article is contributed. See the original author and article here.
Now, let’s say you want to be able to select a few Gallery Items and the same should be populated to a Gallery and even from Collection as well.
You can use this scenario if you want to create a Collection of some GUIDs/Account Names and then take separate action on it or handle it in some other context.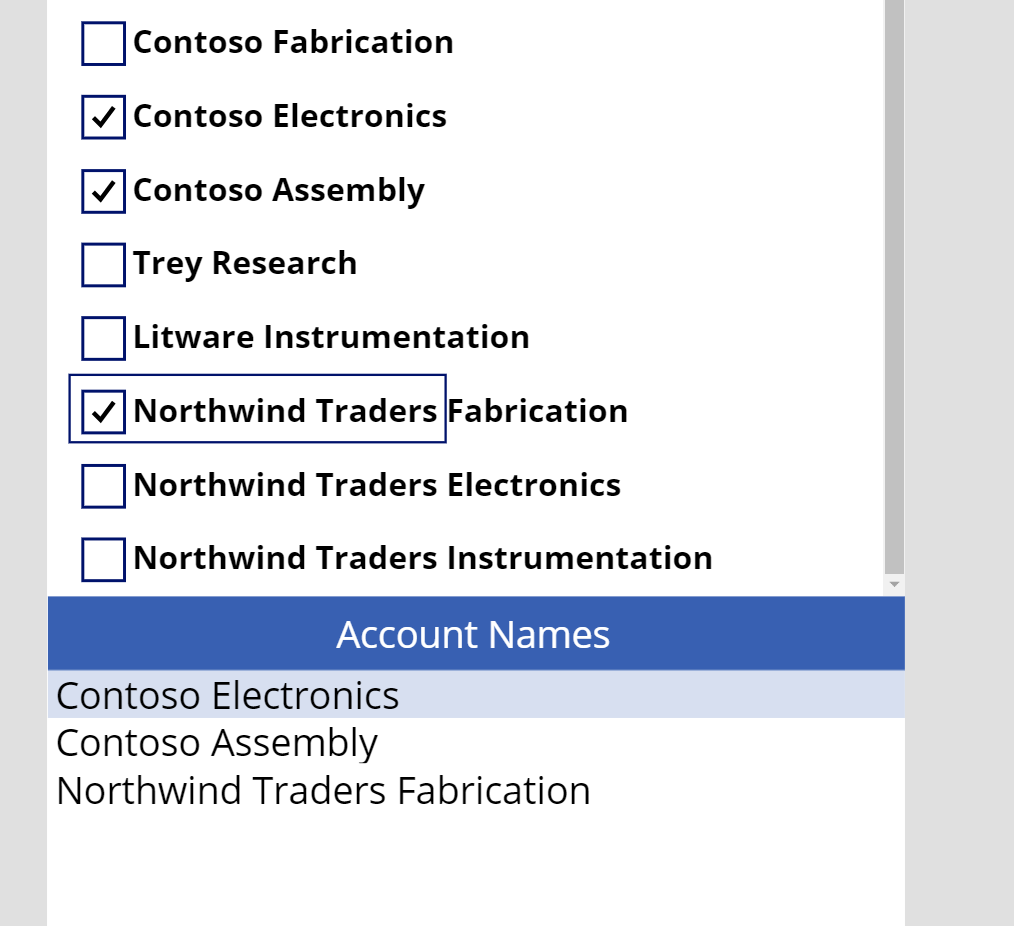
Add Check box in a Gallery
Let’s take a simple example-
- I added a Check Box in a simple Gallery list.
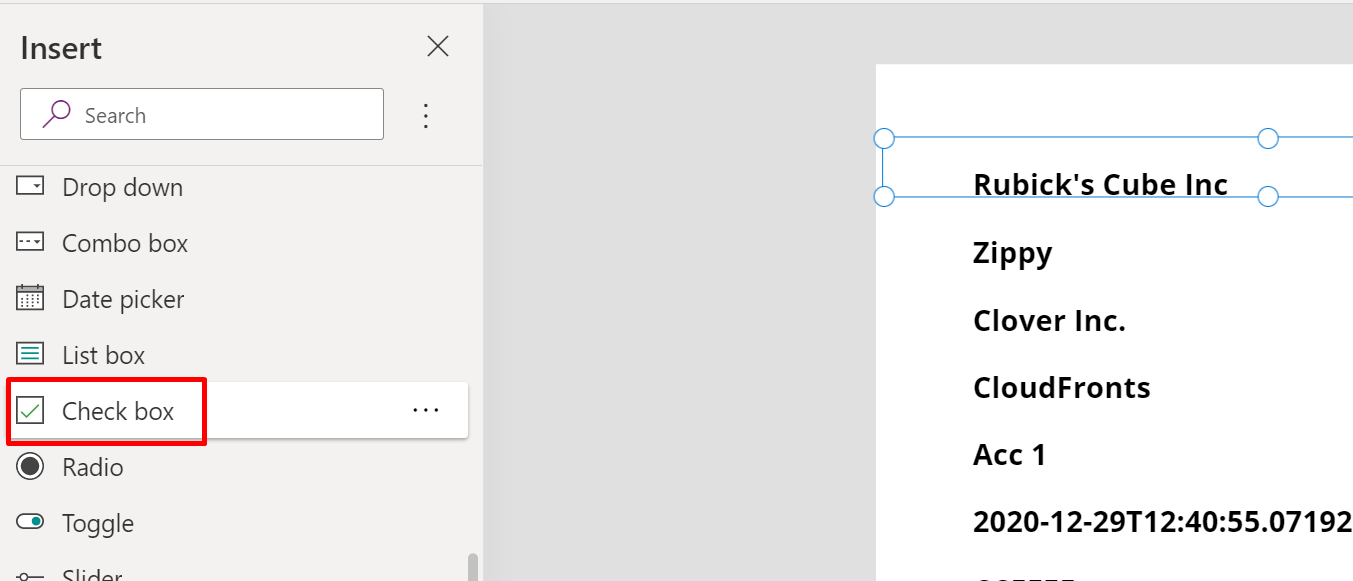
- Align as per your preference. It also comes with a Default “Option” label which you can remove.
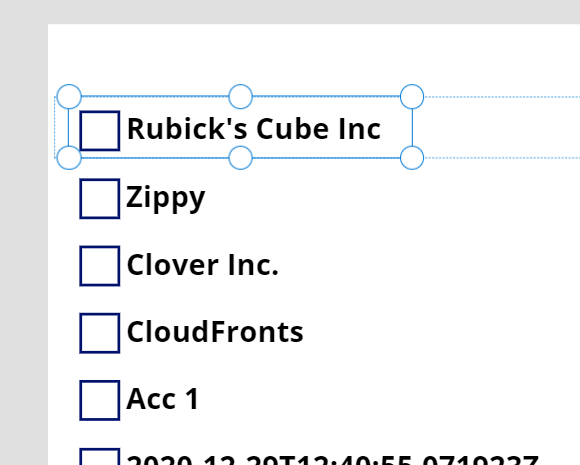
- Now, there are 2 properties which you can use to add to a Collection and remove from the same collection.
Let’s look at the first one – OnCheck
- Under OnCheck function, I’ll add the current item to the Collection (A new collection will be created if not already created)
Blue denotes function used to create a Collection. Collect() function – Microsoft Documentation on the Collect() function – https://docs.microsoft.com/en-us/powerapps/maker/canvas-apps/functions/function-clear-collect-clearcollect?WT.mc_id=DX-MVP-5003911
Green arrow denotes the name of the Collection I’m creating.
Red arrow denotes the current Item from the Gallery control and the Account Name field which I want to populate in my collection.
This will add the Account Name of the record to the Collection once the Check box is checked.
- Under OnUncheck function, I’ll add the formula to remove the current Item from the Collection.
Blue denotes the function used to remove a value from the Collection. Microsoft Documentation of the same is here – https://docs.microsoft.com/en-us/powerapps/maker/canvas-apps/functions/function-remove-removeif?WT.mc_id=DX-MVP-5003911
Green arrow denotes the name of the Collection from which I have to remove the value.
Red arrow denotes the current Item which I had added to the Collection when the Box was checked. It’ll use the same reference.
This will Remove the Account Name which was added to the Collection when the checkbox was checked.
For simplicity, I’m taking Account Names to show in the Collection, you can create a structure in Collection and map Item values as per your needs.
Changes in Collection (Using Data table to visualize)
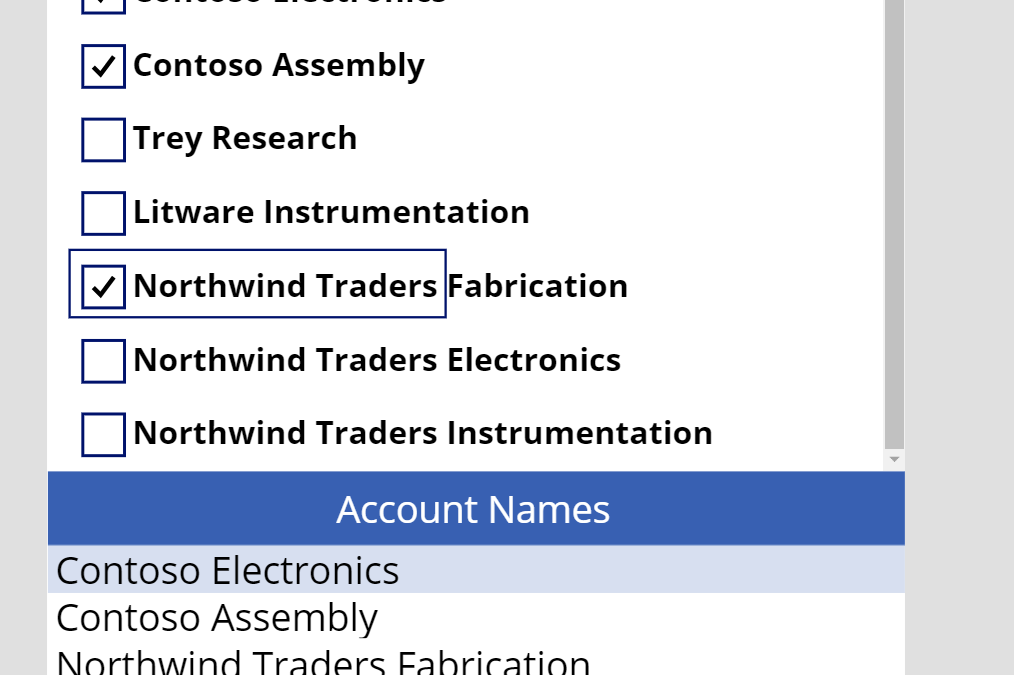
Just to show/visualize how the Collection will look when I interact with the Check boxes on the Gallery, I’ve added a Data table to keep the demonstration simple.
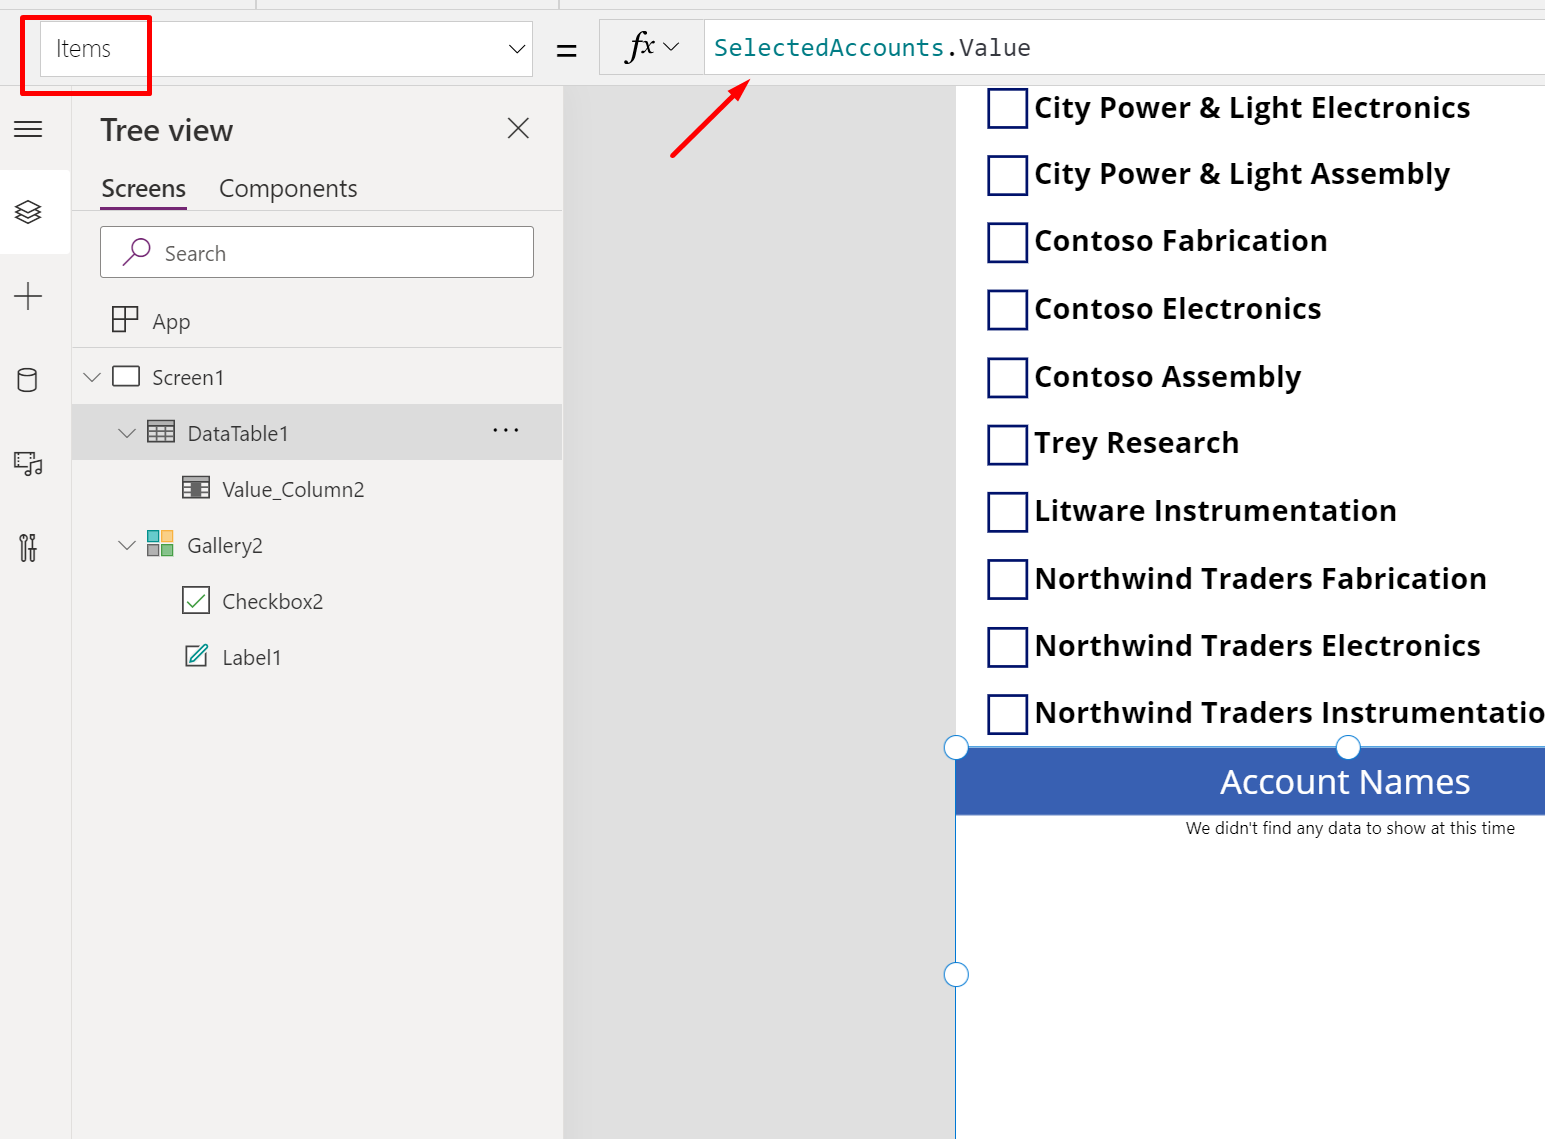
And populate the Items with the Collection’s Value. Because all the Account Names we added to Collection while marking Check box as Checked will fall under .Value
Working
As you select and unselect items from the Gallery, they are added to and removed from the Collection which is seen in the Data Table below.
Hope this helps!!
Here are some more Canvas Power Apps related posts you might want to check out –
- Setting Correct Default Mode for Forms in a Canvas App | [Quick Tip]
- Implement character length validation in a Canvas Power App | Power Platform
- Rating Control to represent data from Dataverse in a Canvas Power App | Power Platform
- Clear a field value & Reset Form in a Canvas Power App [Quick Tip]
- Get Dynamics 365 field metadata in a Canvas App using DataSourceInfo function | Common Data Service
- Debug Published Canvas Power App with other users using Monitor | Power Platform
- Download a File from a Canvas Power App using a button | Power Platform
- AddColumns() function to dynamically add columns to a Data table in Canvas Power App | SharePoint List
- Logged In User details in a Canvas Power App
- Dependent OptionSets in a Canvas Power App for 1:N related CDS entities | Power Platform
- Implement real-time search in Gallery of CDS records in a Canvas Power App | Power Platform
- Implementing Exit app, Logout and Confirm Exit features in a Canvas Power App
Thank you!
Brought to you by Dr. Ware, Microsoft Office 365 Silver Partner, Charleston SC.


Recent Comments