This article is contributed. See the original author and article here.
The following is the fifth and final on a series of articles by @Ali Youssefi that we have been cross-posting into this Test Community Blog for a couple of months now. These articles were first published by Ali in the Dynamics community but since the topic related with Testing, Quality and Selenium, we though it would makes sense to publish here as well.
If you didn’t get a chance to catch the previous parts of these series, please have a look the links below:
- Test Automation and EasyRepro: 01 – Overview and Getting Started
- Test Automation and EasyRepro: 02 – Designing and Debugging Unit Tests
- Test Automation and EasyRepro: 03 – Extending the EasyRepro Framework
- Test Automation and EasyRepro: 04 – Monitoring and Insights with EasyRepro
Otherwise, please read ahead!
Summary
EasyRepro is an open source framework built upon Selenium allowing automated UI tests to be performed on a specific Dynamics 365 organization. This article will cover incorporating EasyRepro into a DevOps Build pipeline, allowing us to begin the journey toward automated testing and quality. We will cover the necessary settings for using the VSTest task and configuring the pipeline for continuous integration and dynamic variables. Finally we will review the test result artifacts providing detailed information about each unit test and test run.
Getting Started
If you haven’t already, please review the previous articles showing how to create, debug and extend EasyRepro. This article assumes that the steps detailed in the first article titled Cloning locally from Azure DevOps have been followed. This approach will allow our test design team to craft and share tests for quality assurance across our DevOps process.
The Run Settings File
The run settings file for Visual Studio unit tests allow variables to be passed in similar to the app.config file. However this file is specific to Visual Studio tests and can be used in the command line and through Azure DevOps pipelines and test plans. Here is a sample to create a runsettings file.
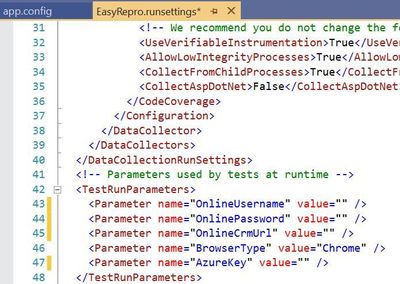
The image above shows how to implement the TestRunParameters needed for EasyRepro unit tests. You can also find an example in the Microsoft.Dynamics365.UIAutomation.Sample project called easyrepro.runsettings. The runsettings file can be used to set the framework version, set paths for adapters, where the result artifacts will be stored, etc. In the Settings section below we will point to a runsettings file for use within our pipeline.
The ClassInitialize Data Attribute
The ClassInitialize data attribute is used by Visual Studio unit tests to invoke the constructor of a test class. This decoration coupled with the runsettings file will allow us to pass in a TestContext object containing the run parameters.
Properties

The configuration values from the runsettings file are included in the Properties object similar to the app.config file. For usage with EasyRepro we will want to leverage the .ToSecureString extension method which will help us when logging into the platform. Below is an example using this extension method.

Setting up the Build Pipeline
In the first article Test Automation and EasyRepro: 01 – Getting Started, we discussed how to clone from GitHub to a DevOps Git repository which we can then clone locally. The examples below follow this approach and assume you have cloned locally from Azure DevOps Git repo.
The first thing to setting up the Build Pipeline is to navigate to the DevOps organization and project. Once inside the project, click on the Pipelines button to create a Build Pipeline. Tasks here require resolving the NuGet package dependencies, building a solution with MS Build and running unit tests using the VS Test task as shown in the image below.
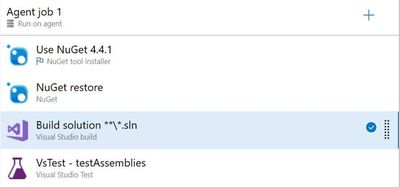
The core task is the VsTest which will run our Visual Studio unit tests and allow us to dynamically pass values from the Build pipeline variables or from files in source control. The section below goes into the VsTest task, specifically version 2.0.
Reviewing the VsTest task
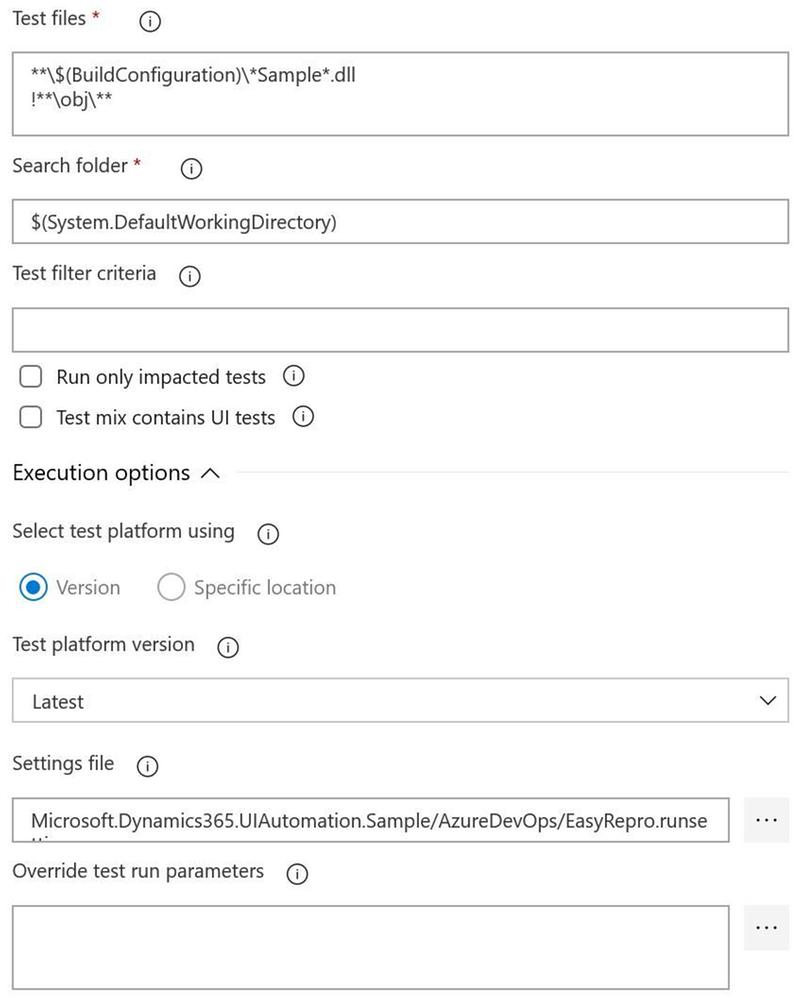
Test Files
The test file field needs to point to a working directory, dictated by the Search folder field, to locate the compiled unit test assemblies. When using the default task this field looks for assemblies with the word test. If you’re starting with the Sample project from EasyRepro you will need to change this to look for the word Sample as shown above. When this task is run you can confirm if the correct assembly is found in the log for the task.
Test Filter Criteria
The test filter criteria field is used to help limit the scope of the unit tests run within the unit test assembly. Depending on the data attribute decorations you can restrict the unit test run task to only run specific tests. The criteria can be somewhat challenging if you haven’t worked with them before so I’d suggest using the Visual Studio Command Prompt to test locally to better understand how this will work in Azure DevOps Pipelines.

The above image shows an example of using the TestCaseFilter argument to run a specific test class. This argument can be used to run specific classes, priorities, test categories, etc. For instance
More information on the test filter criteria can be found here.
Settings File
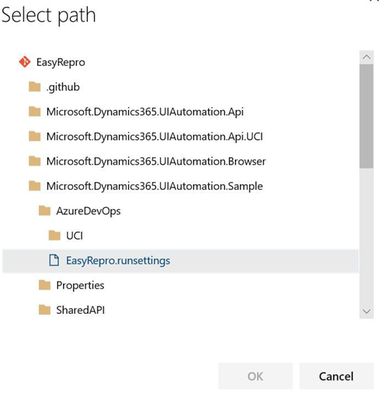
The settings file field works with the vstest.console.exe utilizing the “/Settings” argument but allows the ability to pick a file from the repository directly. This field is customizable to also work with Build Pipeline variables which I’ll describe next.
Override Test Run Parameters
Overriding test run parameters is useful when we want to reuse the same test settings but pass in variables from the Build Pipeline. In the example below I’m replacing the parameters from the runsettings file on the left with Build Pipeline variables on the right.
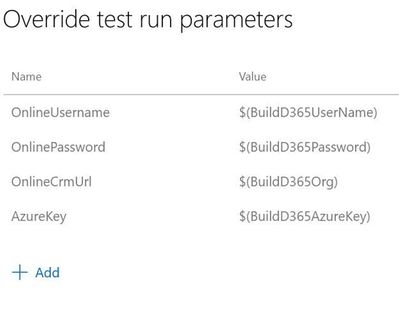
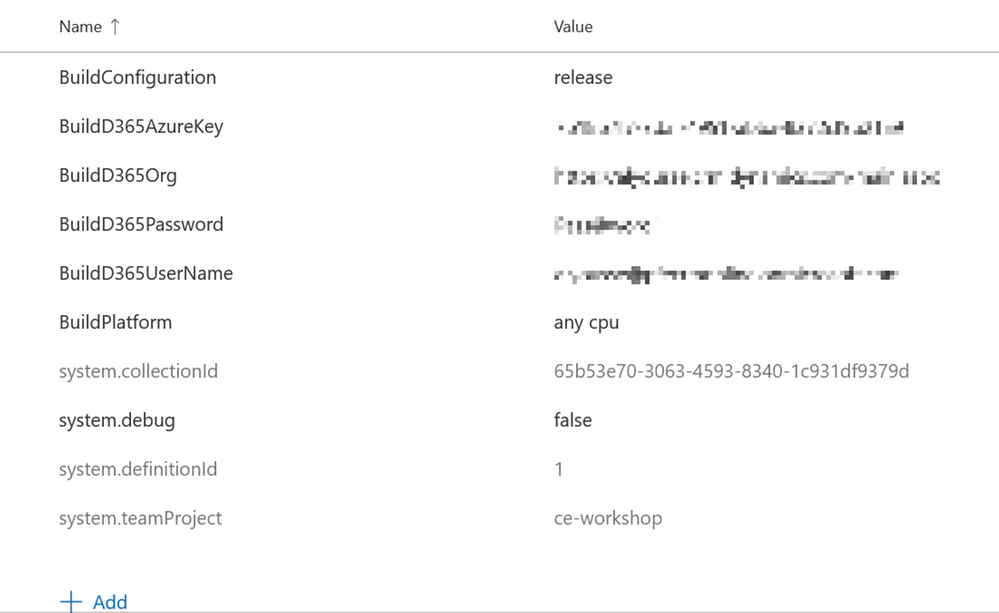
Below are my pipeline variables I’ve defined. This allows me to check in a runsettings file but not have to modify parameters before committing. The values can be plain or secure strings which you will have to take into account if you plan to use one or the other. These variables can also be provided at run time when we queue the build.
Enabling the Continuous Integration Trigger
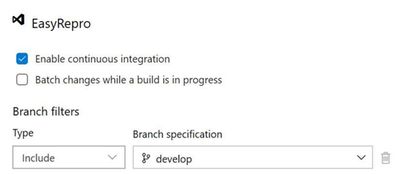
Enabling the continuous integration trigger allows developers to craft their unit tests and have our build pipeline run on push of a commit. This is configured from the Triggers tab on the pipeline which will bring up the above image. To enable, check the box for ‘Enable continuous integration’ and set which branch you want to have this fire off on. This doesn’t restrict a tester from queuing a build on demand but does help us move forward towards automation!
Running the Build Pipeline
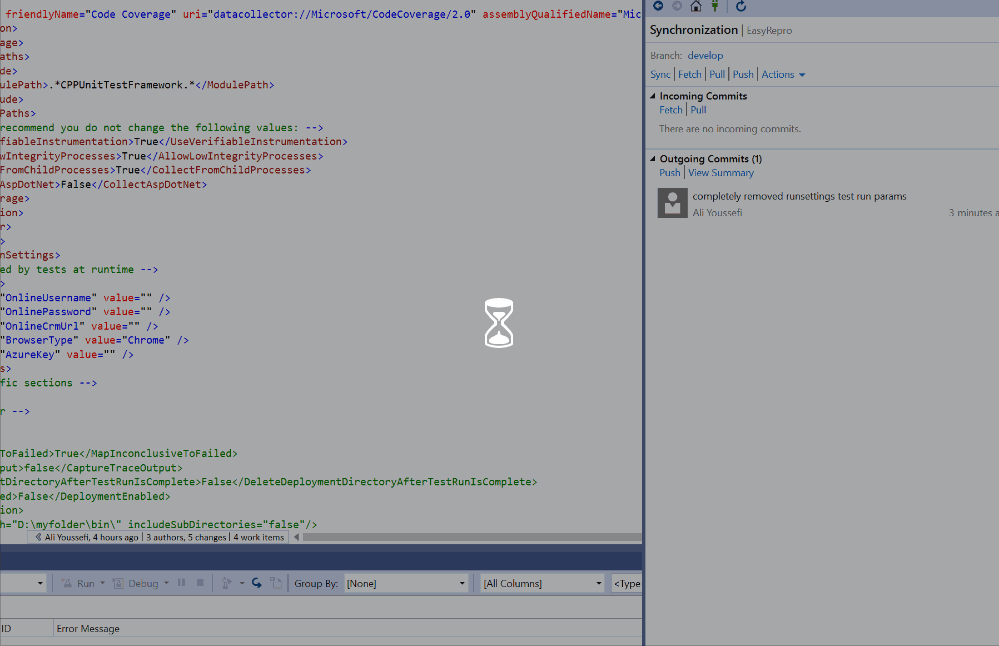
To kick off the build pipeline, commit and push changes to your unit tests as you would any Git commit. Once the push is finished you can navigate to the Azure DevOps org and watch the pipeline in action. Below is a recording of a sample run.
Exploring the Results File
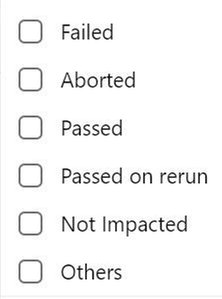
The results of the unit tests can be found in the build pipeline build along with the logs and artifacts. The test results and artifacts are also found in the Test Runs section of the Azure Tests area. The retention of these results are configurable within the Azure DevOps project settings. Each build can be reviewed at a high level for various test result statuses as shown below:
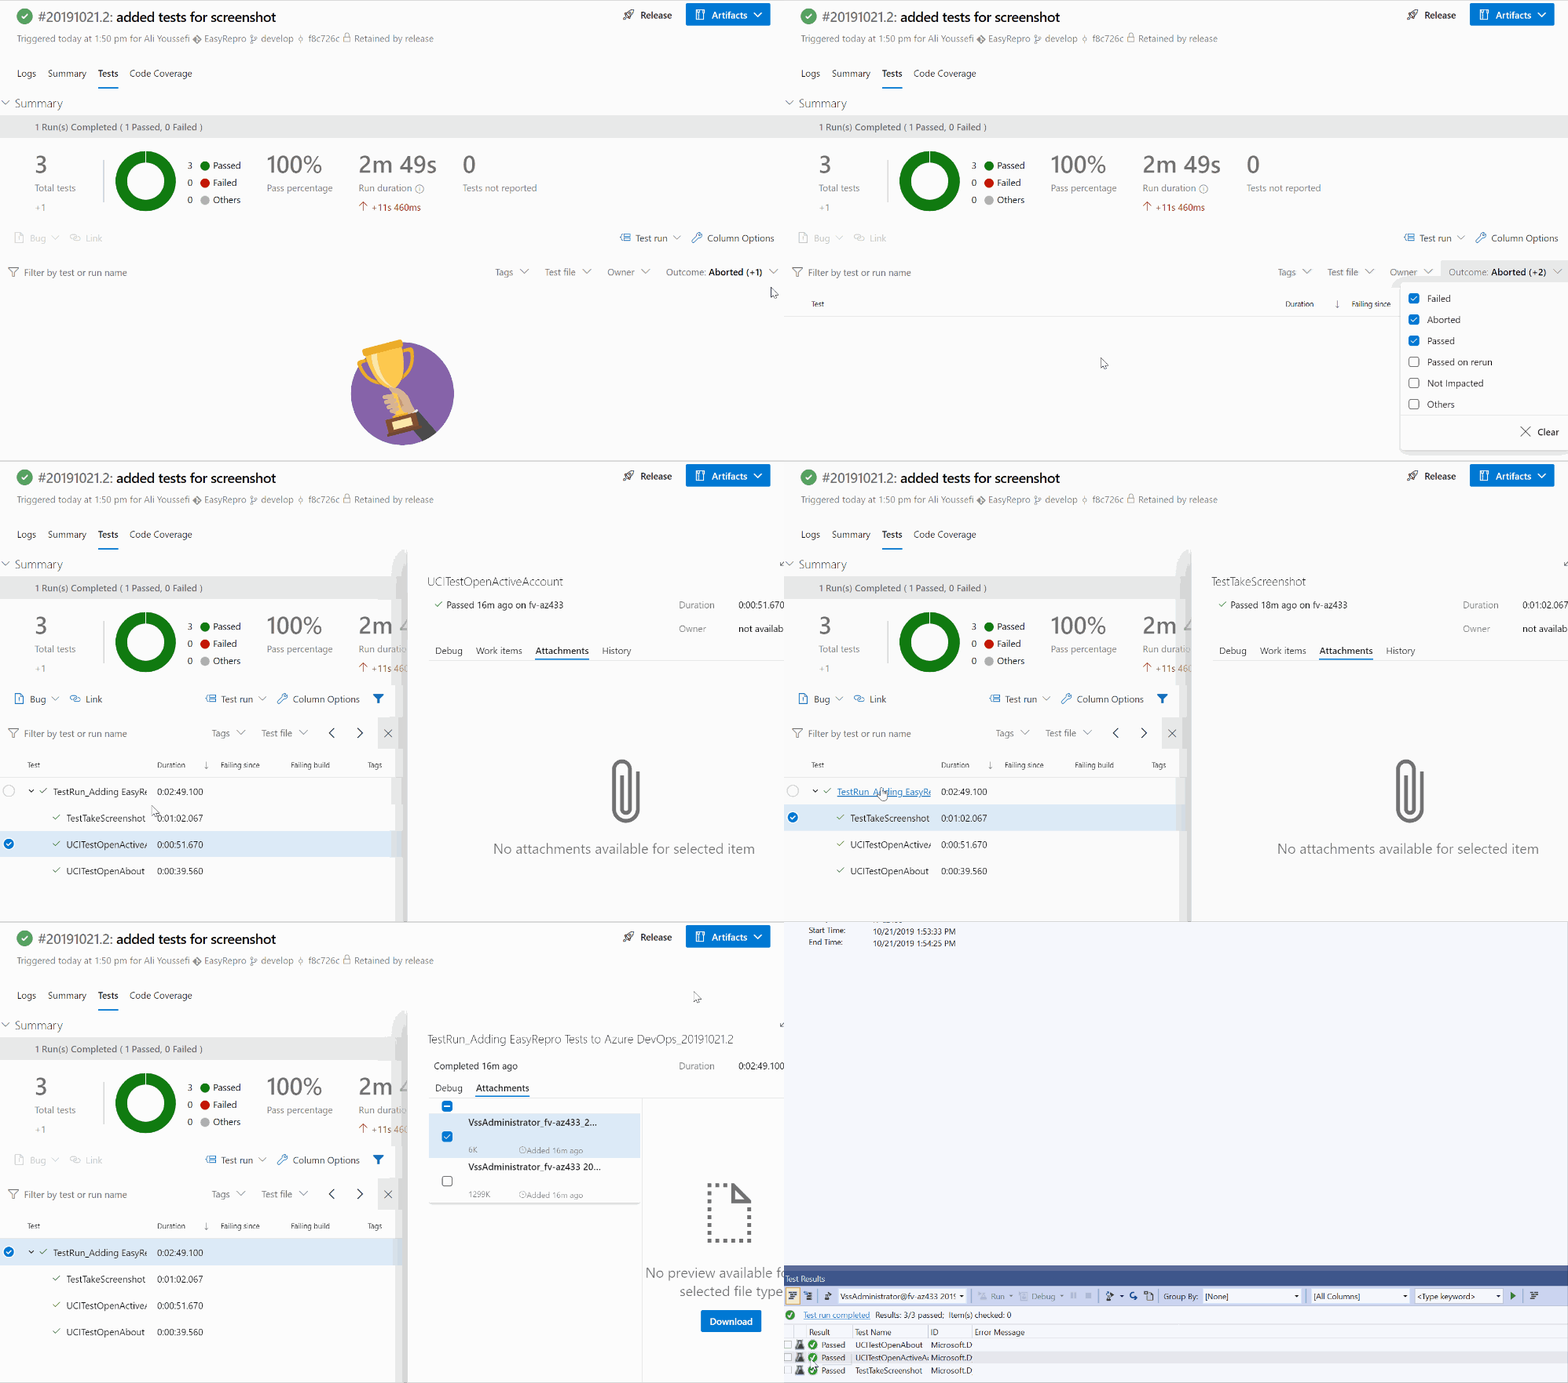
The summary screen includes the unit tests ran and information about failed tests that can be used to track when a regression began. Columns shown include the last time a test ran and what build it began to fail on.
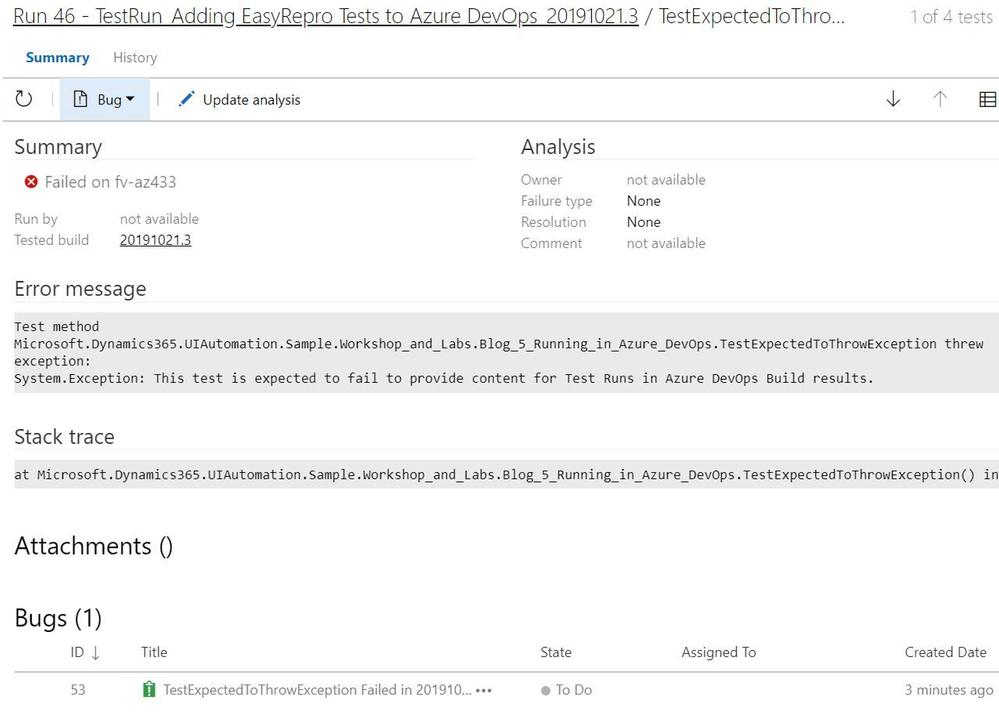
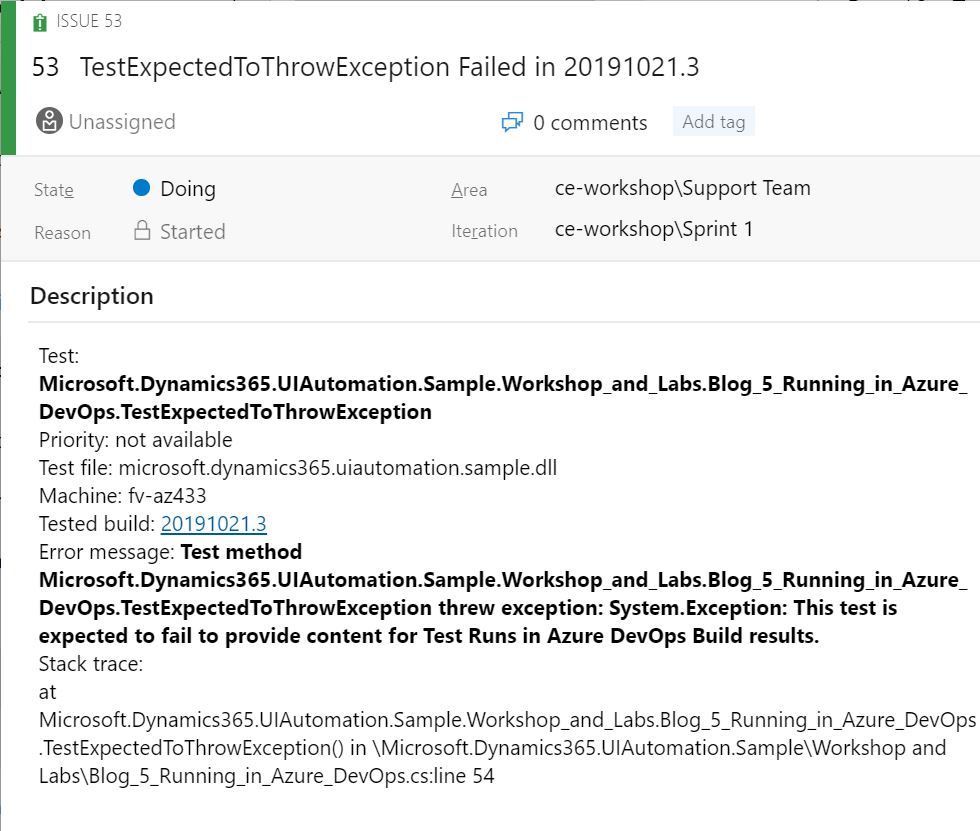
When investigating a failed unit test a link to a new or existing bug can be added. This is useful to help track regressions and assign to the appropriate team. Bugs can be associated from the test run or specific unit test and include links to the build, test run and test plan. The exception message and stack trace are automatically added if linked from the failed unit test.
Each test run includes a test results file that can be downloaded and viewed with Visual Studio. The test artifacts can also be retained locally for archiving or reporting purposes. The contents of the test can be extracted and transformed to be used by platforms such as PowerBI or Azure Monitor.
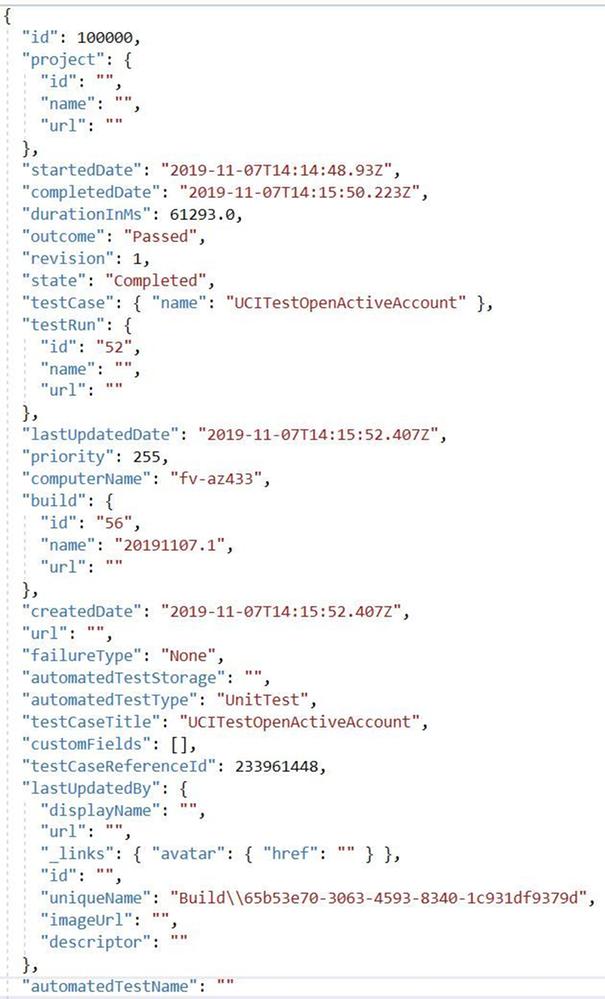
Its key to point out that when used with a Azure Test Run these results can be retrieved via the API and reported on directly. Below is an image of the response from the Test Run.
Next Steps
Including Unit Tests as a Continuous Delivery Quality Gate
Building and running our EasyRepro tests with Build Pipelines represent an important first step into your journey into DevOps as well as what has been called Continuous Quality. Key benefits here include immediate feedback and deep insights into high value business transactions. Including these types of tests as part of the release of a Dynamics solution into an environment is paramount to understanding impact and providing insight.
Including Code Analysis as a Continuous Delivery Quality Gate
One thing I’d like to point out is that UI testing can help ensure quality but this should be coupled with other types of testing such as security testing or code analysis. The PowerApps Product Group has a tremendously valuable tool called the PowerApps Project Checker for code analysis. Project Checker can help identify well documented concerns that may come up as part of our deployment. This tool can be used via PowerShell or from the PowerApps Build Tasks within the Visual Studio Marketplace. It can also be run from the PowerApps portal in a manual fashion if desired.
- Make higher quality Apps with Solution checker
- Automatically validate your solutions using the PowerApps checker PowerShell Module
- Best practice rules used by solution checker
This code quality step can be included as part of the extraction of modifications from your development or sandbox environments or as a pre step before packaging a managed solution for deployment. For additional detail there is a wonderful post by the Premier Field Engineer team documenting how to include this task into your pipelines. Special thanks to Premier Field Engineers’ Paul Breuler and Tyler Hogsett for documenting and detailing the journey into DevOps.
I highly recommend incorporating this important step into any of your solution migration strategies even if you are still manually deploying solutions to better understand and track potential issues.
Scheduling Automated Tests
Conclusion
This article covers working from a local version of EasyRepro tests and how to incorporate into a Azure DevOps Build Pipeline. It demonstrates how to configure the VsTest task, how to setup triggers for the Build Pipeline and how to review Test Results. This should be a good starting point into your journey into DevOps and look forward to hearing about it and any question you have in the comments below.
At the Microsoft Test Team, we have followed this tutorial and often use EasyRepro for our UI-Test related needs for Dynamics 365, please stay tune for a Tips and Trick related to EasyRepro, until next time!
Brought to you by Dr. Ware, Microsoft Office 365 Silver Partner, Charleston SC.


Recent Comments